
5 Ways To Shoot Night Exteriors
Introduction
As a cinematographer, there’s one line in a script that always makes me pause. “Exterior. Night.” More specifically a night exterior lit exclusively by moonlight.
It’s simple to write on a page, but the moment you begin breaking it down technically, it becomes one of the most complex lighting scenarios in filmmaking.
Moonlight, by definition, is dark and barely there. Yet cinema demands we see faces, performance, geography and depth. Do you try to recreate the reality of how our eyes perceive moonlight, or do you elevate it into something more expressive, more cinematic, more legible?

In this video, we’ll look at some of the most common approaches by cinematographers to shooting moonlit night exteriors, and one less common but innovative solution used at the highest levels of production.
Characteristics of Moonlight
Before lighting moonlight, it helps to understand what it actually is.
If you go for a walk far away from artificial light pollution and stand in nature during a full moon, without a torch and let your eyes adjust, you’ll notice something surprising. Moonlight produces shadows. Just like sunlight, it has direction.
However, its luminance is dramatically lower. The moon reflects only roughly 12% of the sunlight that hits it. So while it has a direction, the intensity is a tiny fraction of sunlight.

It’s also a bounced source. Think of the sun as a giant HMI, and the moon as a massive natural bounce board. Because the light is reflected rather than emitted, its quality is slightly softer than direct sunlight.
But because it’s night time and there isn’t any sunlight to bounce around and fill in shadows like there is during the day, moonlight’s shadows are quite deep and dark.
Then there’s colour. Moonlight can appear slightly cool to our eyes. But this isn’t because the moon emits blue light. It’s due to the Purkinje effect, where our eyes shift sensitivity toward the blue end of the spectrum in low-light conditions. As luminance drops, our cone cells become less active and our rod cells take over, making colour appear more monochromatic.

So moonlight is low luminance, relatively directional, slightly softened, cool in perception, and desaturated of colour.
1. Day for Night
The biggest challenge with filming moonlight is that it’s simply too dark.
Even modern digital cinema cameras struggle to capture scenes lit purely to realistic moonlight levels without introducing noise or losing detail entirely. So one long-standing solution, instead of filming at night, is to shoot in daylight and manipulate the image in post. This is called shooting day for night.

The advantage is that the camera can see everything. Background elements that would otherwise fall into darkness remain readable. You’re working with the sun, which, like the moon, is a single light source in the sky that gives you natural shadows from a single direction.
To make day for night convincing, you typically want strong directional sunlight. Having hard shadows will help sell the illusion once exposure is lowered. If a scene is brightly exposed without many shadows, it can be a clear giveaway that it was shot day for night. Often this means placing the sun behind your subjects or side on to them to create more of a backlit silhouette or sidelight.

Another immediate giveaway for day for night is to look at the sky. If it has bright details or even clouds that are visible then the footage was shot during the day. Sometimes this can be cheated by framing out the sky but other times it is unavoidable.
It may seem counter intuitive but the trick is to not underexpose the daylight footage with the camera, but rather give it a healthy level of light to preserve enough detail and then take that light away in the grade.

Colourists will take the day footage and reduce overall exposure, compress contrast, and desaturate and cool the colour temperature. Colourists can create this look adjustment as a LUT file, that can be applied to monitors when shooting, so that people on set will have an approximation of what the footage will look like in post.
Day for night rarely looks identical to real moonlight. It’s an interpretive solution. For some filmmakers, that stylisation is desirable and feeds into the look and tone of the movie. For others, who want a look closer to naturalism, it can feel a bit distracting.
2. In the Blue
Another approach, which is a bit more natural, is to shoot during blue hour.
This is the short window just after sunset when the sky retains a dusk light, but the sun itself has dropped below the horizon. Without direct sunlight there will be a natural ambience in the air which is soft, often cool and directional from where the sun set.

Because there is no direct sunlight filling in the shadows, and you need to orient the camera towards the bright part of the sky and expose for that, shadows will become significantly crushed. Meaning you’ll most likely have silhouettes and high contrast, unless you choose to lift those shadows by adding a bounce or fill light.
Of course, since it is dusk rather than truly night and you shouldn’t be able to see any sky ambience, this look isn’t technically correct, but I do like the more natural feel of it, which is why I’ve used it on a few productions.
A big downside to this technique is time.
You typically have somewhere between 20 to 40 minutes before that ambient light disappears. That may be sufficient for a shot in a commercial, a music video, or a short non-dialogue scene. But for extended dialogue coverage which requires multiple angles, this technique may not give you enough time.

Although, for those with enough budget, a trick to digitally prolong this look is to do so with visual effects. On Killers of the Flower Moon, Rodrigo Prieto shot the wide of this night scene against a backlit sky in the dusk sweet spot - completely in camera. However, to maintain this lighting continuity over multiple angles and pages of dialogue, as the light faded, they captured a plate of the dusk sky and then replaced all the backgrounds of the close ups with that plate digitally after the sun had set.
The key is preparation. Every shot must be planned. The shooting order must be locked. The crew must be ready to move quickly. You’re constantly adjusting exposure between takes, removing ND filters, increasing EI, or opening the aperture as the light fades.

Fast lenses and cameras with higher native ISO ratings will extend your usable shooting window. But eventually, it will become too dark.
Blue hour can look incredible. But its practicality depends entirely on the scale and complexity of the scene.
3. Moonlight Source
The most common solution in narrative filmmaking is simply to create moonlight using film lights.
Unlike blue hour, this gives you time. You can shoot coverage. You can relight for different angles. You’re not racing against the sun disappearing below the horizon.
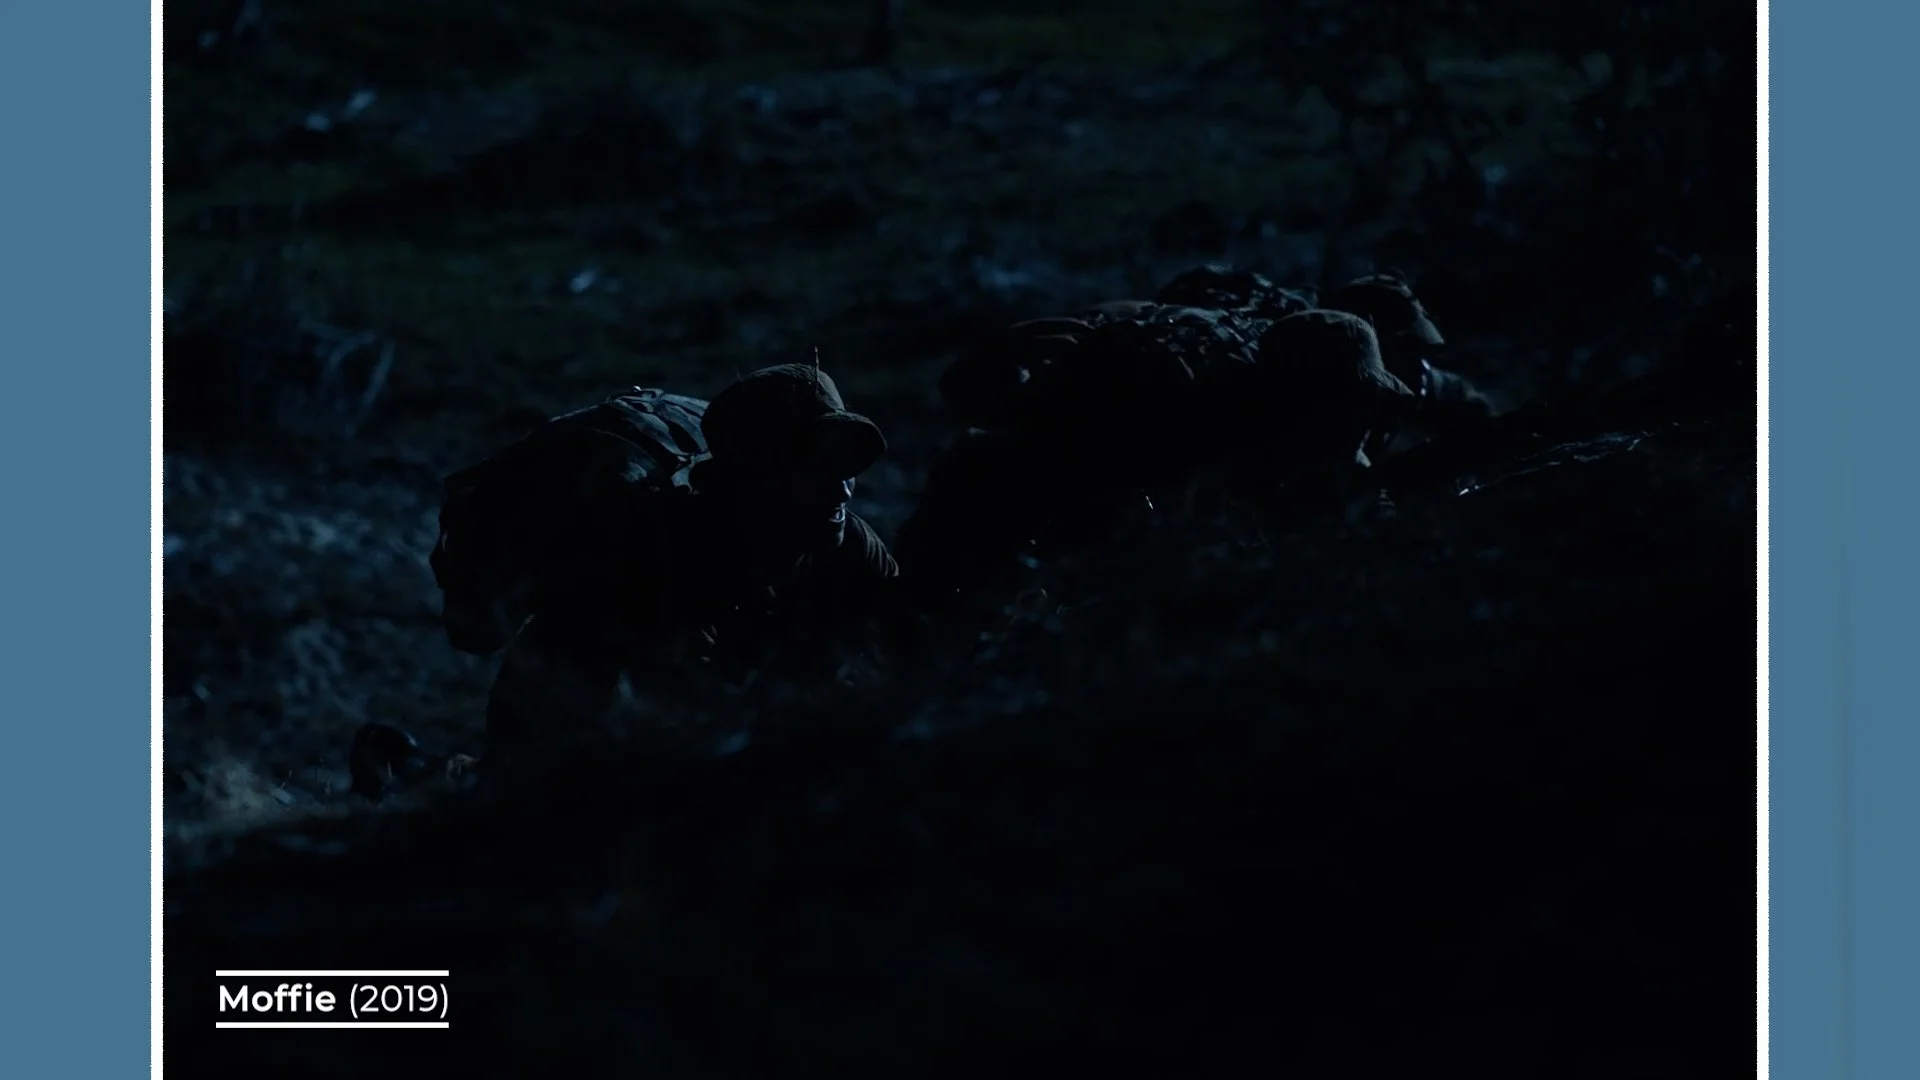
Traditionally, cinematic moonlight is created as a strong single source. This light is often placed as a backlight behind the character, high and angled down, mimicking the moon’s position in the sky. Faces are sometimes then filled subtly using bounced or diffused sources.
On a smaller scale, this might involve a powerful COB LED such as an Aputure 1200, pushed through a lantern softbox and raised on a high stand, like a triple lift combo or wind up stand. The lantern softens and spreads the light over a larger area to approximate how moonlight blankets a space.
Since you’re working at low light levels, it’s often safer to expose slightly brighter than intended and bring the image down in the grade. Underexposing too aggressively can lead to noise and unrecoverable details.

On larger productions with higher budgets, the same concept scales up. Larger units such as an Arri SkyPanel S360 or a high output HMI are rigged high on cranes or cherry pickers or a suspended balloon light can be used. Elevation is crucial. The higher the source, the more natural the falloff and shadow direction.
The challenge is scale. The larger the location, the more output and coverage you need. Light only reaches so far. Wide landscapes demand either multiple units or extremely powerful fixtures, both of which increase budget and complexity.
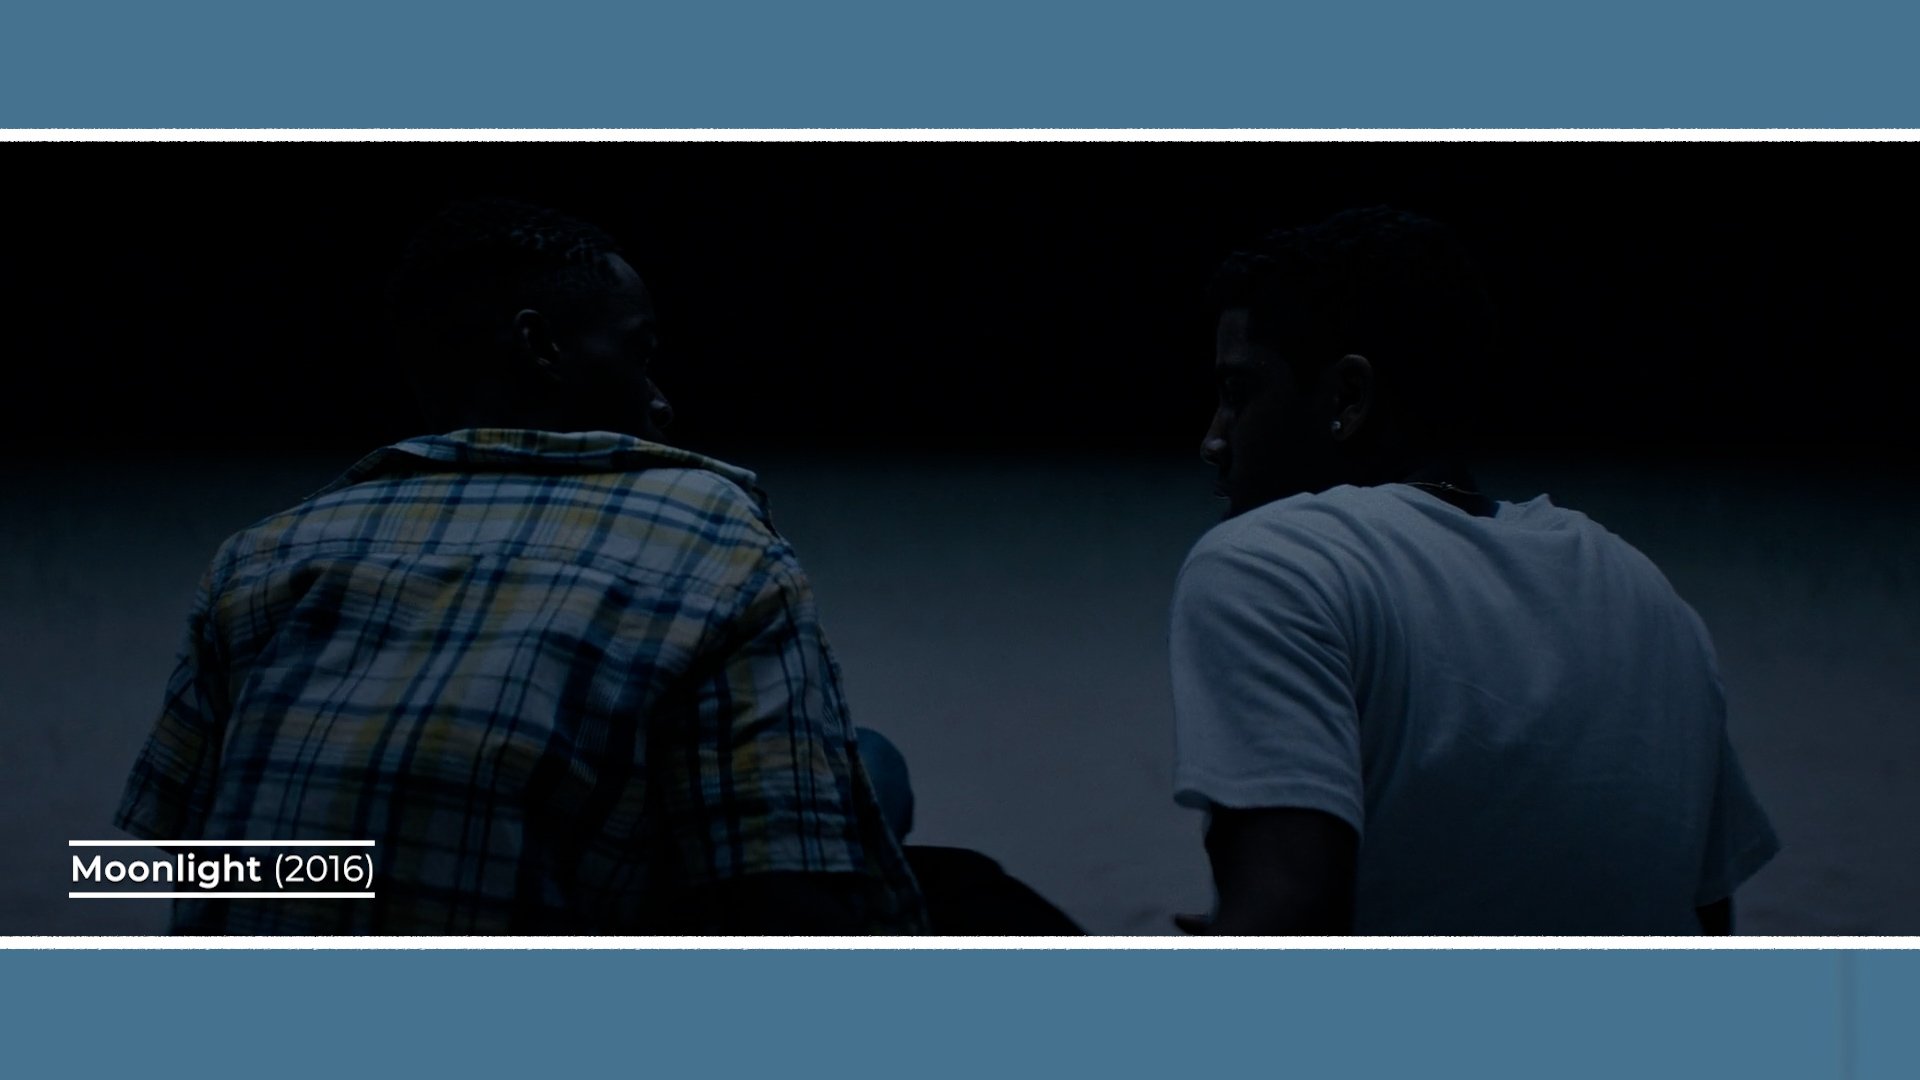
But this approach remains the industry standard because it balances control, flexibility and a look that audiences intuitively recognise as “cinema moonlight.”
4. LED Volume
A more recent solution that sits between shooting in the blue and building a large artificial moonlight setup is the LED volume.

A volume is a soundstage surrounded by high-resolution LED panels that display either a pre-shot plate or a CG environment. For moonlit scenes, this means you can maintain the perfect blue hour ambience by freezing that final moment as a background and playing it back on the screens. The soft, cool dusk light that normally lasts 30 minutes can now last all day.

That ambient light from the LED screens becomes your base. Cinematographers can then add film lights if they desire, such as a stronger backlight to mimic a defined moon source or a subtle fill light to faces for clarity. Because the LED wall emits real light, it creates interactive reflections and a natural colour response in camera.
The trade-off is space. Movement is limited to the physical size of the stage and the LED screen. Large-scale action can quickly outgrow the confines of the volume. But for contained scenes, it offers a controlled, repeatable, if pretty expensive, way to achieve a naturalistic night exterior without fighting real darkness.
5. Infrared Camera
So what happens when you need to shoot large-scale scenes at night, with extensive movement across vast terrain?
This was the challenge faced by cinematographer Hoyte van Hoytema on Nope. Instead of using traditional day for night, as is the norm, he experimented with infrared photography.

Infrared cameras are sensitive only to specific wavelengths of light. When shooting in natural sunlight with an infrared filter, the resulting image is a monochromatic image with a bright enough luminance but dramatically dark skies.
This is a technique he first conceptualised On Ad Astra, to create a believable moon-like surface by combining infrared luminance with colour and texture captured on 35mm film.
For Nope, the technique evolved further. Using decommissioned 3D stereo rigs, two cameras were mounted to capture the exact same image simultaneously. One was a modified Alexa 65 with a filter that let it capture infrared light. The other was a 65mm Panavision camera that captured standard colour information on film.
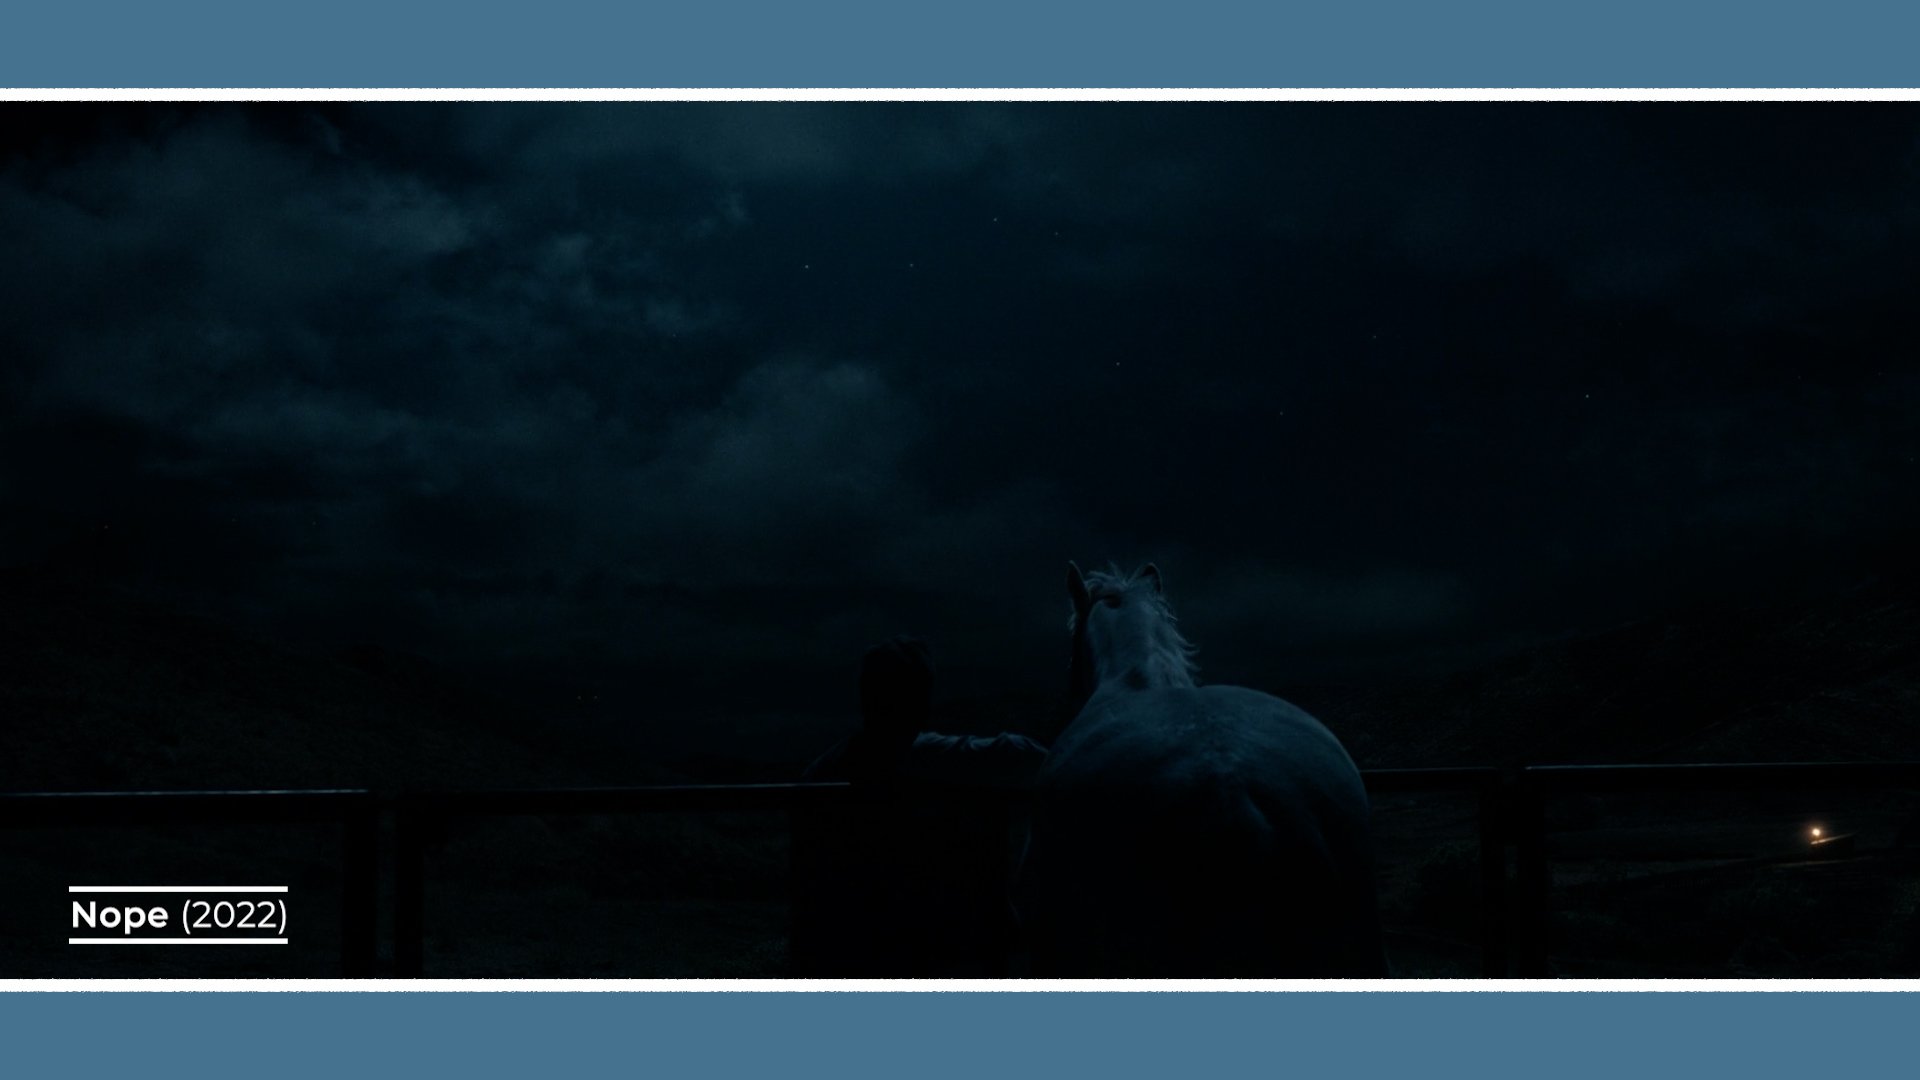
In post-production, the luminance data from the infrared footage was combined with the colour and texture from the film negative. Working with colourist Greig Fisher at Company3, the images were composited into night footage that felt extremely plausible and allowed the audience to see deep into the darkness - which wouldn’t have been possible with night time film lighting.
Additional VFX light elements that couldn’t be captured in camera under the sunny conditions, such as warm car headlights, were added later, completing the illusion.

The result was a night exterior that retained a super realistic moonlight look at scale, seeing into the dark without feeling artificially lit.
Conclusion
Moonlit night exteriors are difficult because they sit at the edge of visibility.
Whether you shoot day for night, embrace the fleeting beauty of blue hour, construct your own artificial moon, or turn to an LED screen, each method is a balance between realism, practicality and cinematic clarity.
And that tension between what is real and what is readable is exactly where cinematography lives.