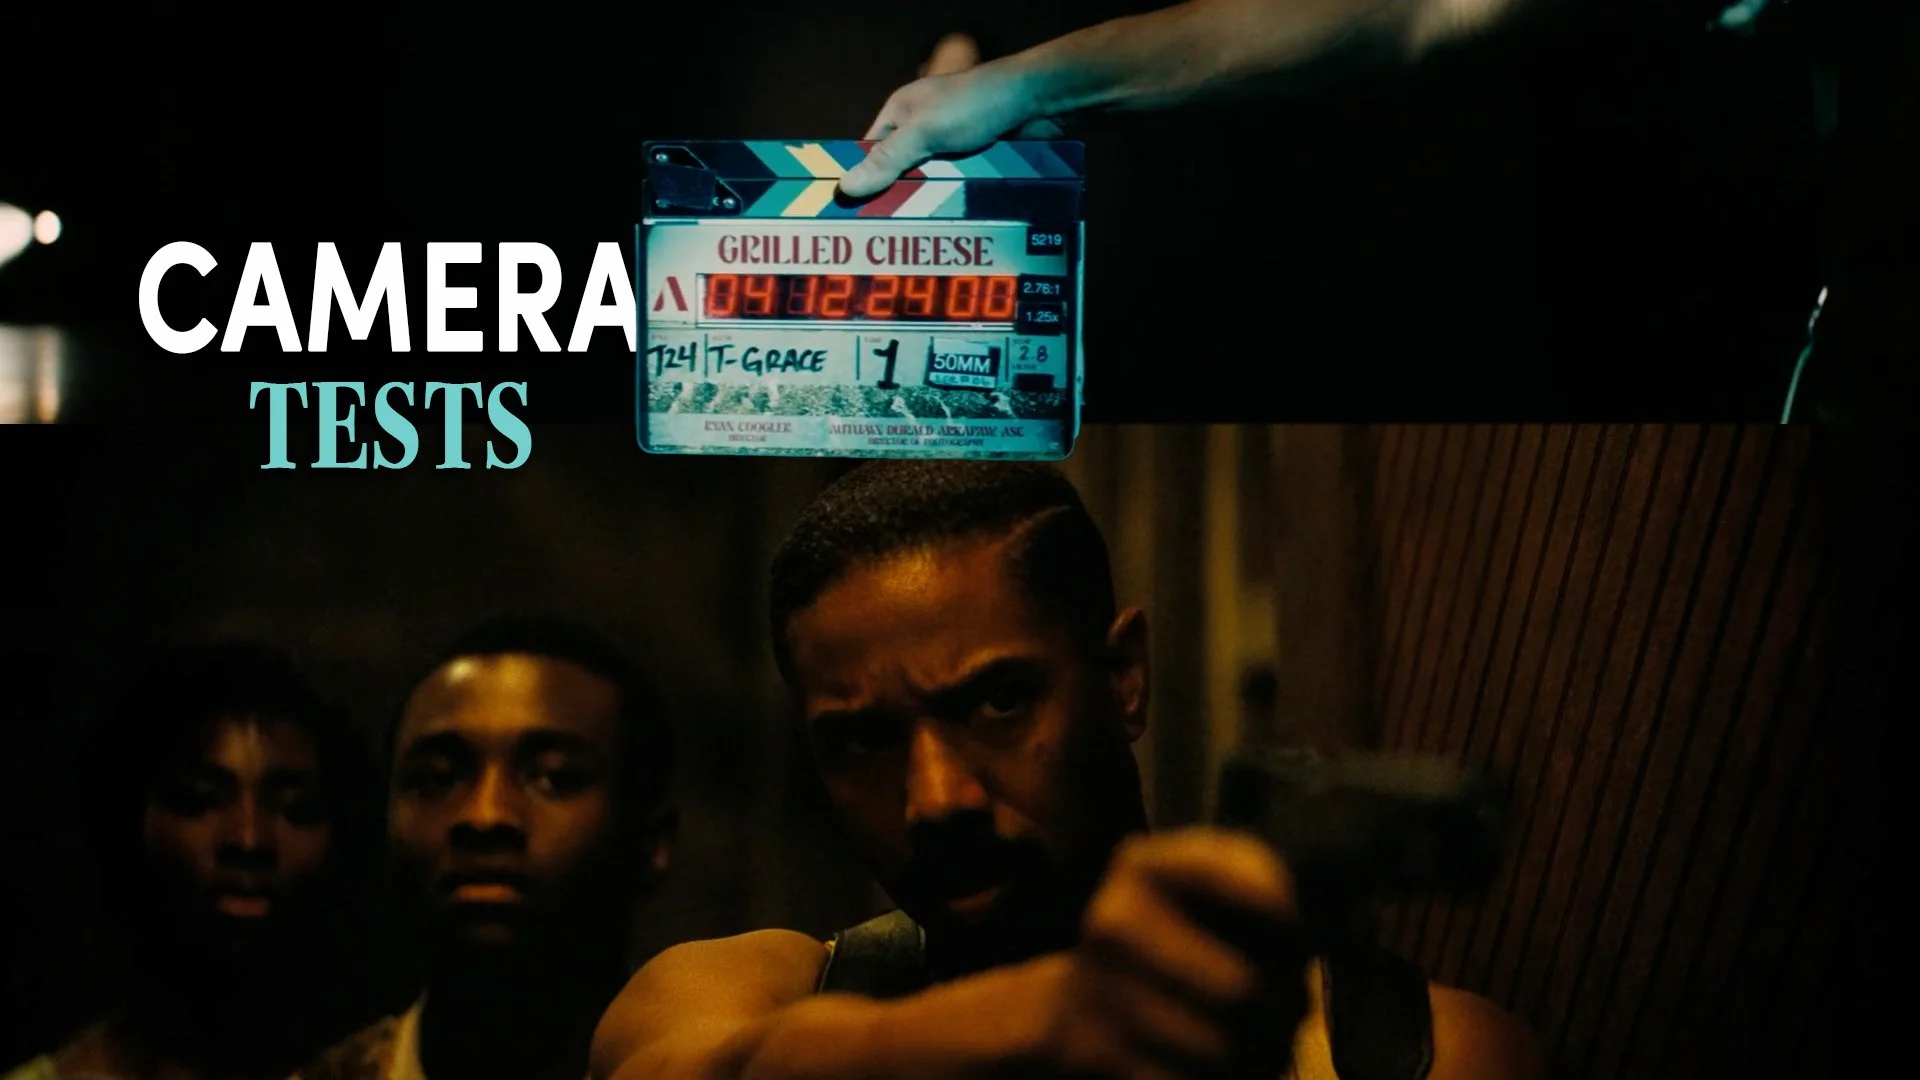
Why Camera Tests Are Important
INTRODUCTION
Before a single frame of a feature film is shot, you may find the Director of Photography in a darkened room, staring at a monitor, watching test footage. This less glamorous process is still an incredibly creatively and technically important part of pre-production.
Today we’ll go over camera tests: what they are, why industry productions do them, and how you can use them to find the visual language of your film before the first day of shooting.
CAMERA TEST VS. GEAR CHECK
On a film set, time is often the most expensive resource. Every minute spent debating a filter choice or wondering how a specific lens reacts to a light is a minute taken away from the actors and the story.
Camera tests are the foundation of a smooth production. They represent the transition from abstract ideas in a script to the tangible reality of the screen.
You may have heard the terms camera test and gear check used interchangeably, but they serve two very different purposes in the production pipeline.
A camera test is a creative exploration. It involves shooting clips on digital or film cameras to evaluate how different combinations of tools translate to a specific look.

This may involve experimentation with different lenses and filters: comparing the sharpness of modern glass against the character of vintage lenses, or seeing how different diffusion filters affect the highlights.
Or, testing different cameras and film stocks to evaluate dynamic range, colour reproduction, noise or the grain structure of various film stocks.
Lighting ratios can also be tested to get a sense of how much shadow or lack thereof the director is partial to, by illuminating shots with different strengths of key or fill light.
Or production design, make up and wardrobe tests can be shot, to see how different coloured costumes or makeup applications react under the intended shooting conditions and ensure there is no moiré or interference with patterned fabrics on digital sensors.

Directors may also use this as an opportunity to screen test actors, giving them a chance to embody characters for the first time on camera.
On the other hand, a gear check is a technical insurance policy. This usually happens at the rental house a day or two before the shoot. The goal here is functionality. A focus puller will assemble the camera package and shoot lens tests to make sure each focal length is correctly calibrated and the camera isn’t producing excessive dead pixels, a gaffer will power and check the lights, and a grip will ensure all their equipment is complete and in working order.
In short, the camera test, which is done in pre-production, is to creatively explore and select the equipment which will create the desired look; while the gear check, which is done immediately prior to shooting, makes sure the equipment which will be used is in working order.
WHY SHOOT CAMERA TESTS
The tradition of camera testing stems from the film era. In those days, cinematographers could not see a high definition image on a calibrated monitor on set like today.
While modern digital cameras and monitors give us instant feedback, the importance of testing has not diminished.
Newer cinematographers may not have had the chance to handle every piece of high end gear. If you have never used a Low Con filter or a set of Cooke Speed Panchros, you cannot truly know how they will behave in your specific environment until you see the footage. Testing fills that knowledge gap.

Technology moves fast. New sensors, lenses, and filters are released constantly. Even the most experienced DPs need to test new equipment to understand the nuances of a camera’s built-in gimbal, how a probe lens works or the flare characteristics of a newly released lens set.
Every project is a unique story with a unique director. A visual style that worked for a gritty crime drama will not necessarily suit a whimsical romantic comedy. Testing allows you to find a specific visual language catered to the script.
Shooting is incredibly expensive. Between the crew, the cast, locations, and equipment rentals, time on set costs a significant amount of money. If you arrive without a clear plan for your look, you risk wasting time experimenting or finding out what the director is after while the clock is running.
Finding the look beforehand during tests ensures that everyone is on the same page and that there are no unpleasant surprises when you get to the edit suite.
HOW TO SHOOT CAMERA TESTS
Not every production has the budget to pay for dedicated test days. In fact, most short-form jobs will not have them, unless they are squeezed into a gear check day. However, for long-form jobs like features or series, testing is usually a good line item to have in the budget.
If you are working on a smaller indie project, leverage your relationship with a gear rental house. If you have a good relationship with them, many rental houses will be happy to let you test equipment in-house for free if you ask nicely and the gear is available.
For larger jobs, you should coordinate with the production company to include a test day as part of the rental agreement. Often, the production will provide a skeleton crew, like a focus puller, to assist shooting the tests.
The key to a successful test is specificity. Don’t go into a test trying to look at every lens in the building. Identify the gear you are interested in beforehand, either from experience or by seeking out gear tests online.
Remember, your job is to provide a visual perspective. Come up with a creative concept first, then test to see if specific gear can practically execute that look.
Rental houses are also a wealth of knowledge. They can often suggest a gear package that fits your budget or offer technical advice on what equipment might suit the specific look you are after.
Some high end jobs may even have the luxury of tuning a special set of existing lenses to give a specific optical effect. Such as through a lens technician like Dan Sasaki at Panavision who has customised lens sets specifically for different big projects, subtly tweaking things like flare colour or their edge distortion.

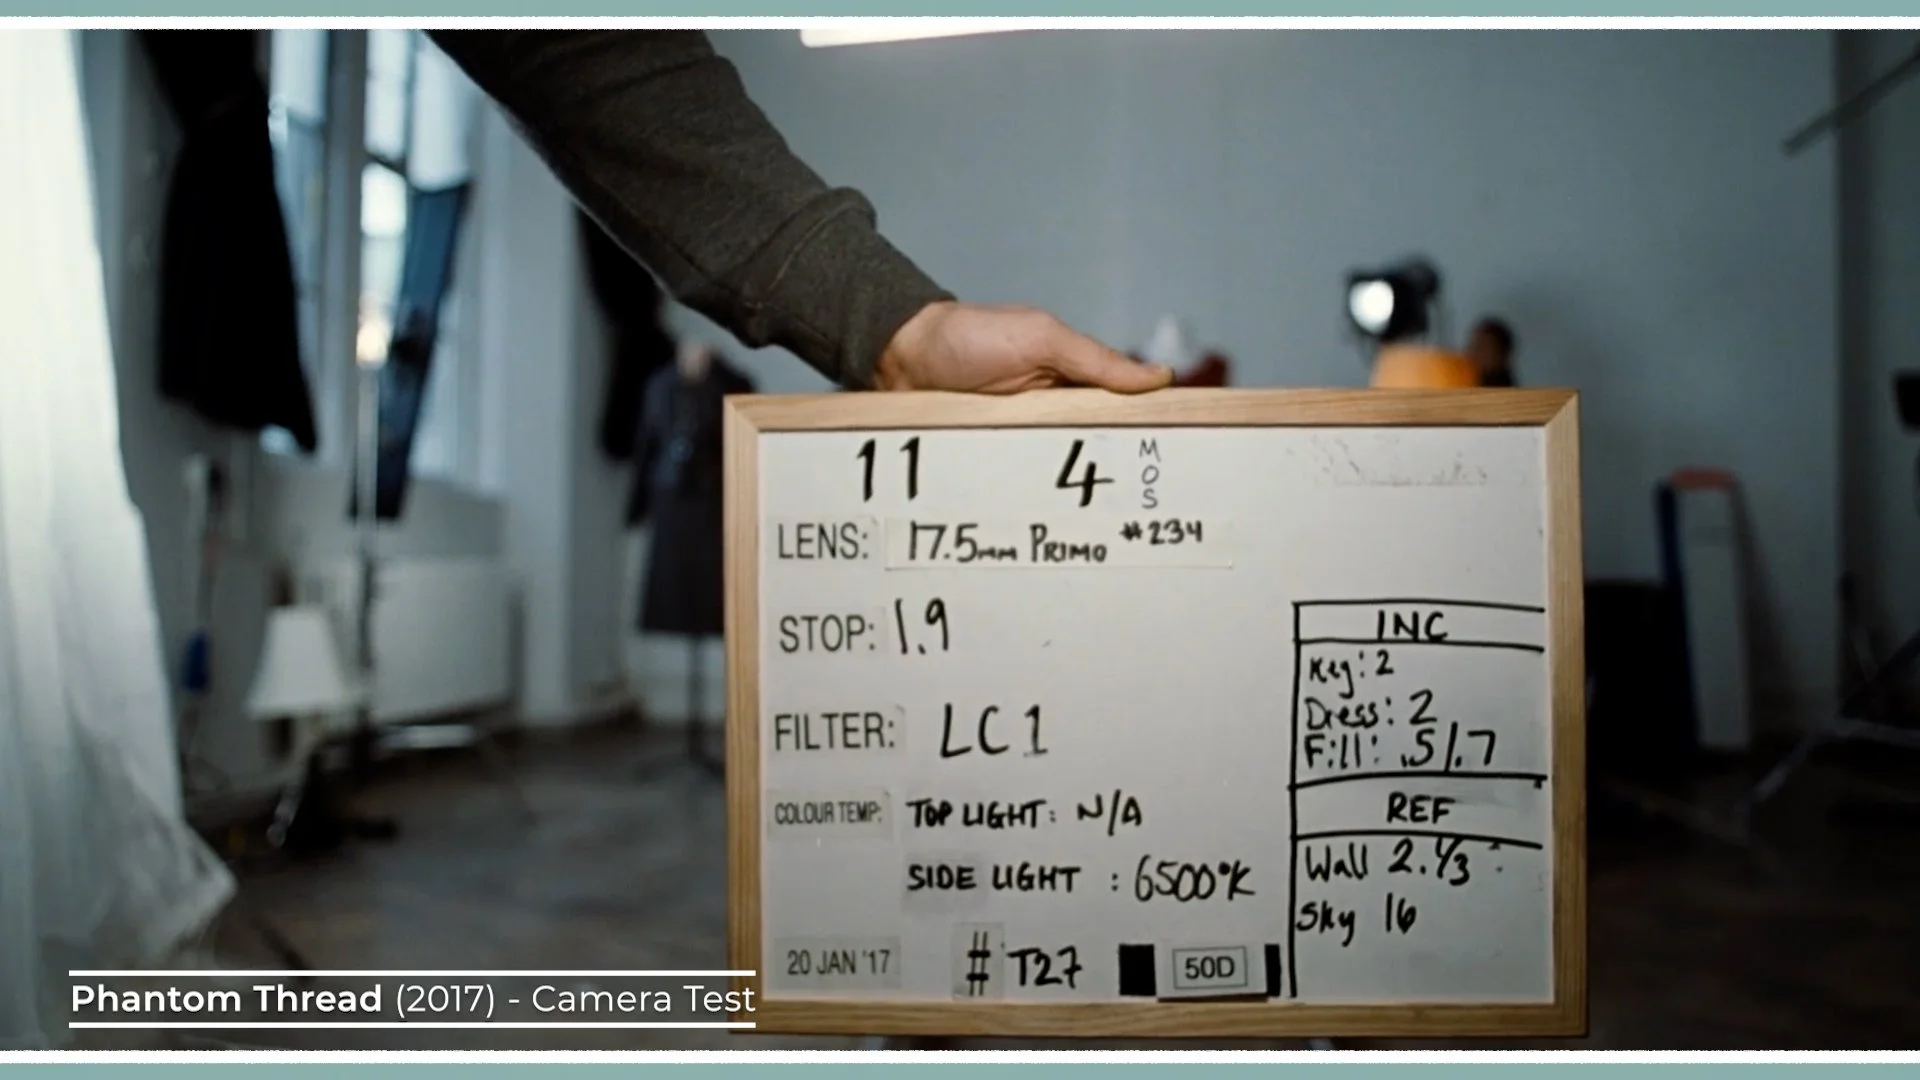
When it comes to actually shooting the test you should use a slate to specify the gear used: the lens, the stop, the filters, and camera settings. Without this, you will have a hard time remembering which clip belonged to which setup when you are reviewing the footage later.

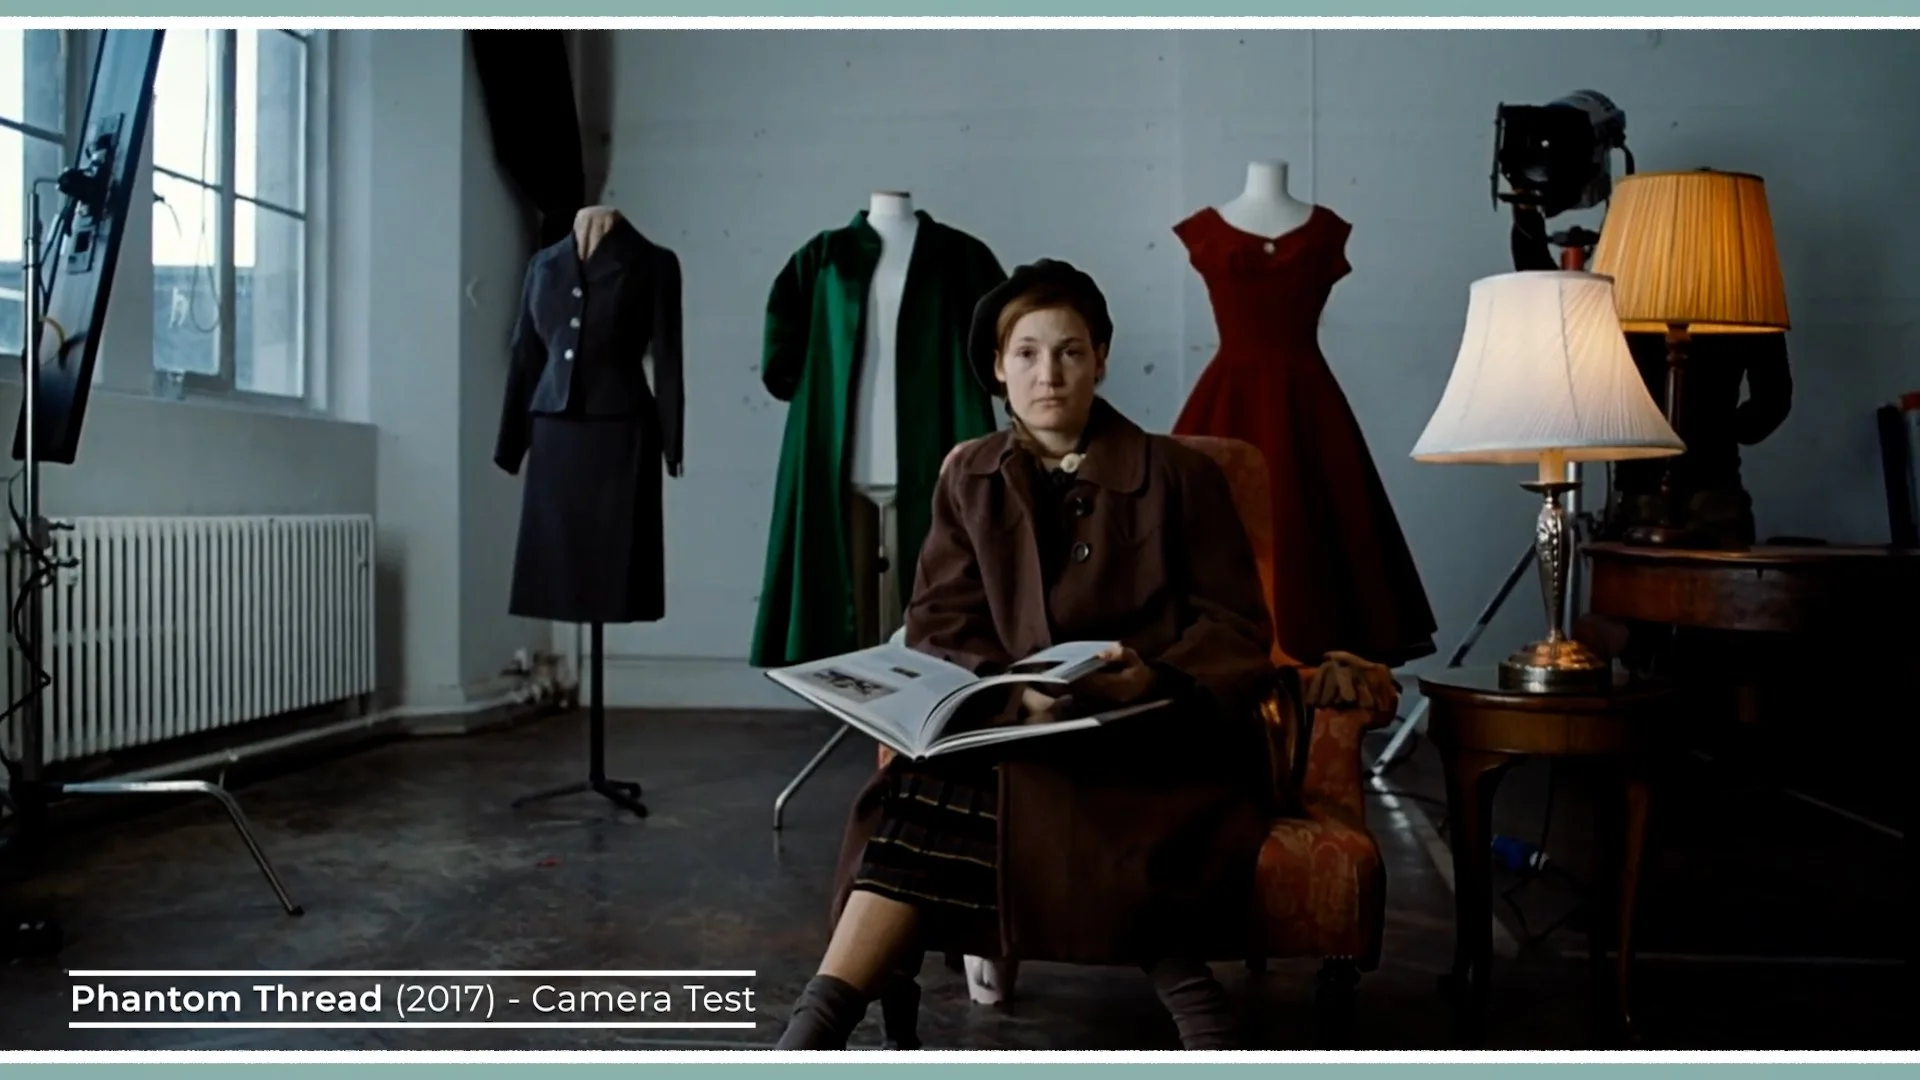
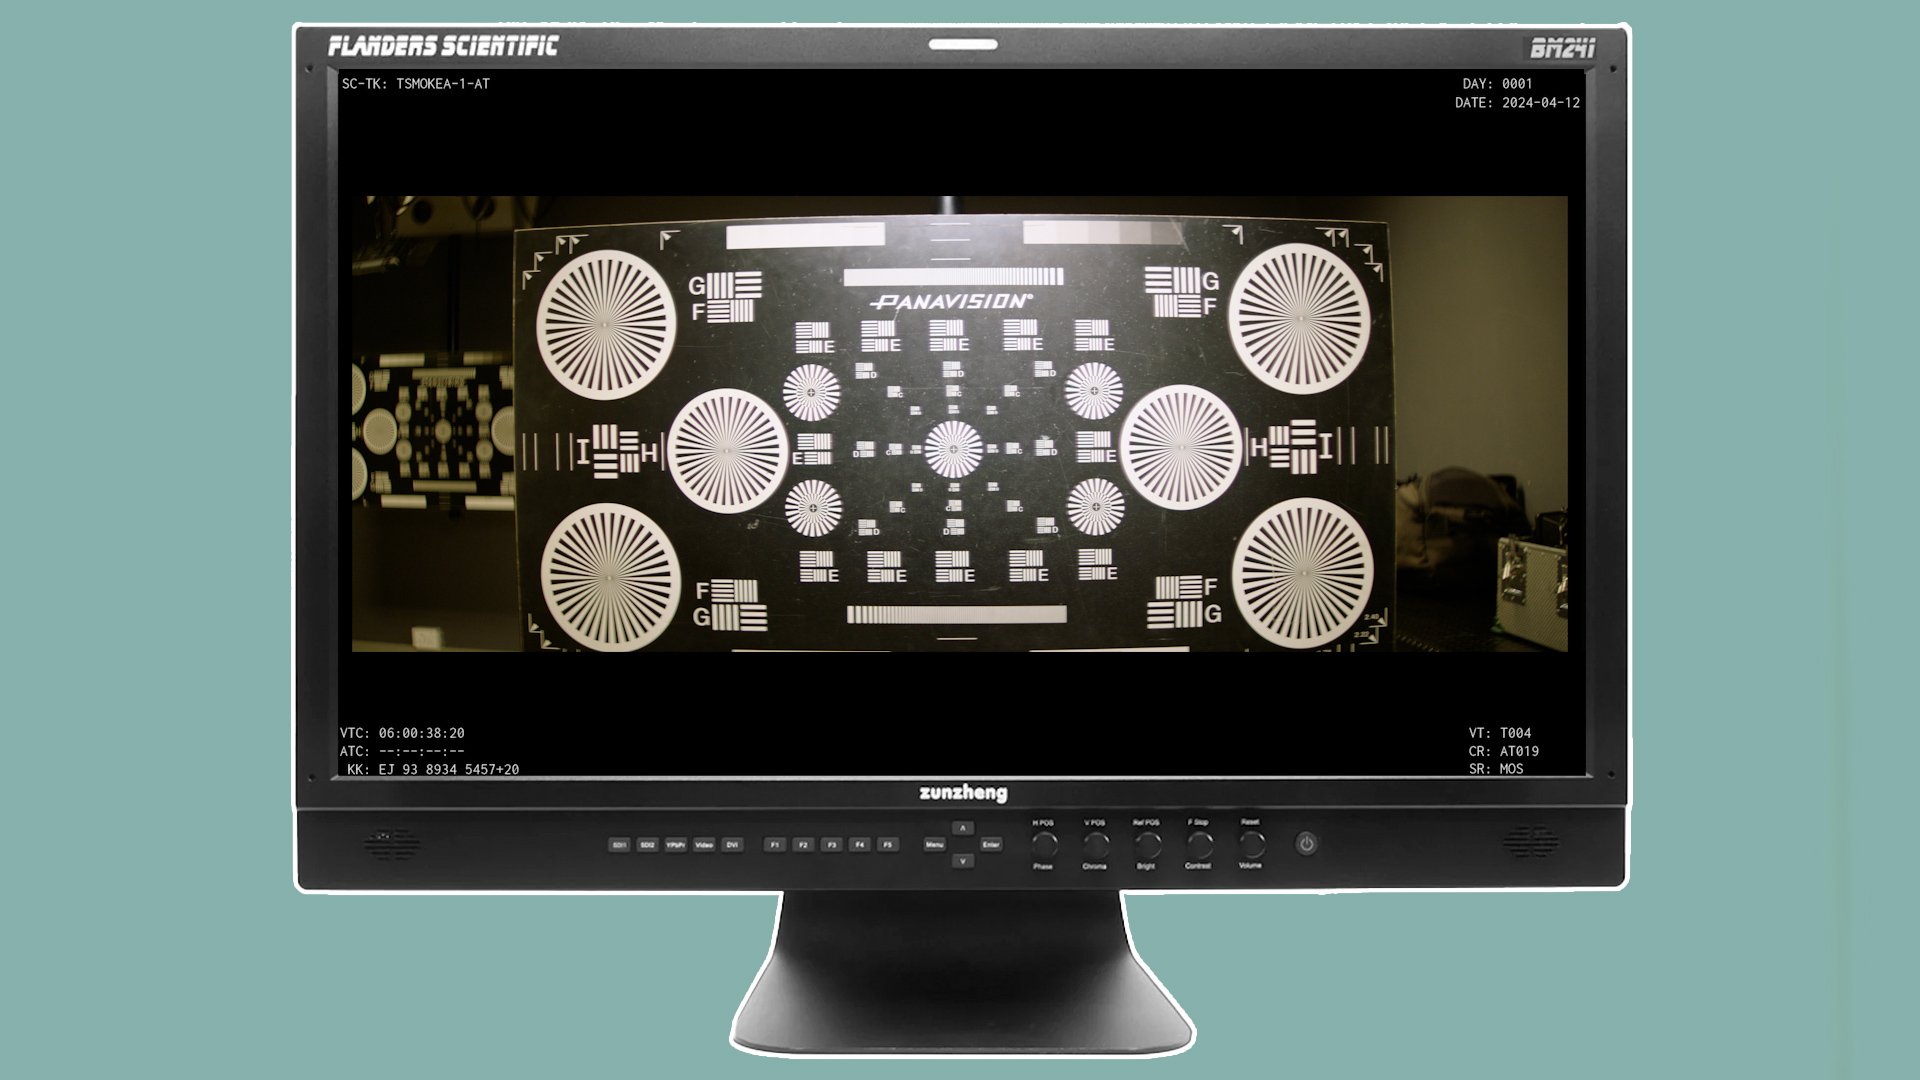
While lens charts are great for checking technical sharpness and distortion, they don’t always give a realistic sample image - which is what you’re after. Shoot your tests with a person in a space lit by actual film lights or outdoors with sun. This will give you a much better sense of how skin tones react to the sensor and the glass.
Testing is not only about the look - it can also be about the setup. For example, if you need to shoot in a 9:16 aspect ratio for social media, test the vertical rigging of the camera by building it. If you want to zoom during a shot, setup a Microforce and check that the desired zoom speed can be achieved with the gear and note the speed setting.
LUTs
The final step of a camera test is the creation of a LUT, or Look Up Table. You can take your test footage into a grading suite to see which technical and colour combinations work best.
In fact, camera tests provide a good opportunity to set up and establish the post production workflow for the project. It may also be a good idea to shoot a frame leader or framing chart. This is done by physically lining up the frame lines of the aspect ratio that is being framed for on the camera, and shooting test footage that shows the frame lines.
Frame leaders can be created digitally, such as with Netflix or Arri’s frame line tools: where you add your camera, shooting specs, squeeze factor and aspect ratio. These can be digitally added to the project file, printed out and physically shot as a test clip on the camera, or even marked out with tape on a board based on the camera’s frame lines and filmed. They communicate to the edit team which aspect ratio the project should be cut and finished in.

Professional DPs may be able to work with a colorist at this stage to design a custom LUT for the project. Alternatively, you can design it yourself if you have the skills. Or tweak an existing LUT that you already have. It’s important though to ensure the LUT is built correctly so that you aren't accidentally under or over-exposing your footage on set - due to a LUT that pushes exposure too dark, or too light.
By monitoring with this custom LUT on set, you ensure that the director, the producers, and the client are all seeing a version of the film that is close to the final vision. This same LUT can be applied to the rushes and the transcoded proxies for the editor.
In my opinion, you want the look on the monitor to be as close to the final film as possible. You should use the final grade as an opportunity to tweak and perfect the image, rather than a time to start "discovering" what the movie looks like.
By passing your test-generated LUT to the colorist at the end of the project, you give them a roadmap and a head start, ensuring the creative intent you worked so hard to find during prep actually makes it to the screen.
CONCLUSION
Camera testing might seem like an extra hurdle, but it is actually the ultimate creative freedom. It gives you the confidence to be bold on set, knowing exactly how your equipment will respond to the world you are building.